What it does
- During and after the conversation: Twilper sends a JSON message for the events you choose.
- Events: conversation.created, message.created, lead.captured, conversation.resolved, call.completed, call.missed, call.summary and appointment.booked.
- Every message is signed, so you can check it comes from Twilper.
What you need
- An account with Zapier, Make or n8n.
- An https URL to receive messages.
Step 1: create a receiver
- Zapier: create a Zap with the trigger "Webhooks by Zapier" → "Catch Hook" and copy the URL.
- Make: create a scenario with "Webhooks" → "Custom webhook" and copy the address.
- n8n: add a "Webhook" node and copy the production URL.
Step 2: add the webhook in Twilper
Step 1: Open the wizard
Go to "Integrations" and click "Set up" on the card "Zapier · Make · n8n".
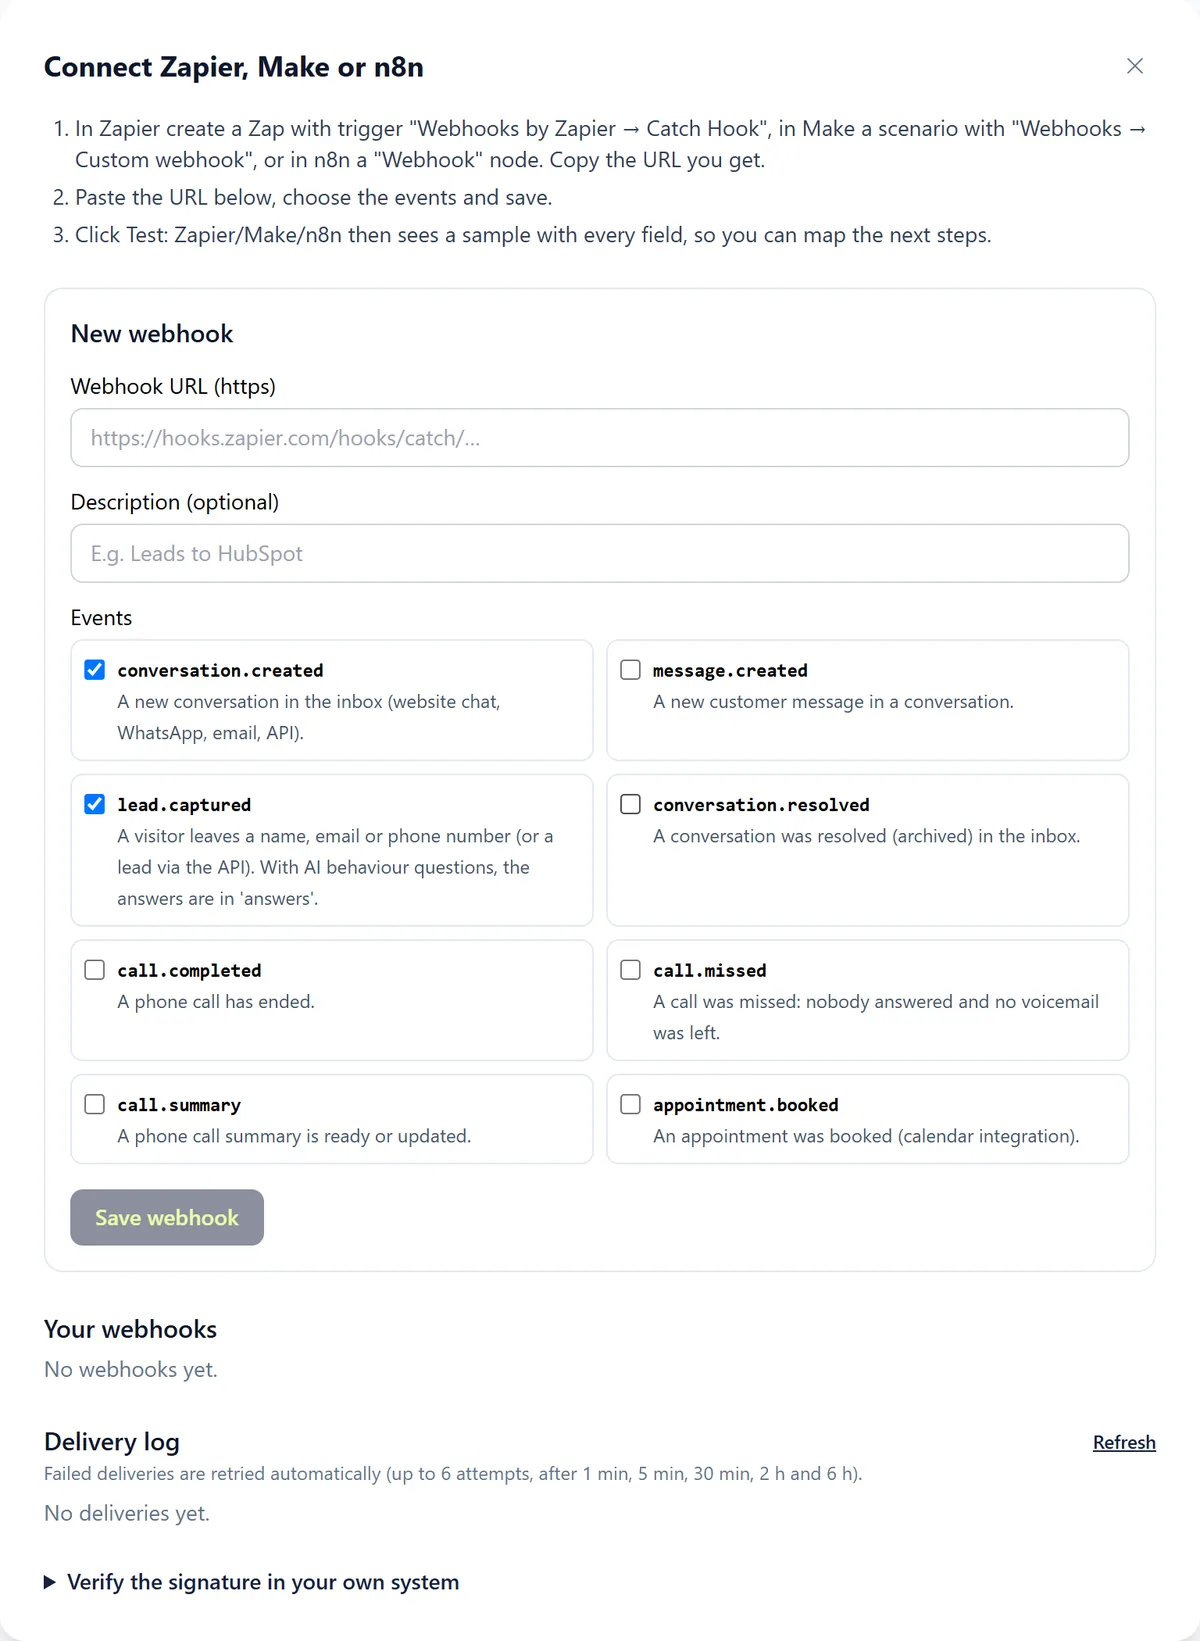
Step 2: Paste the URL and choose events
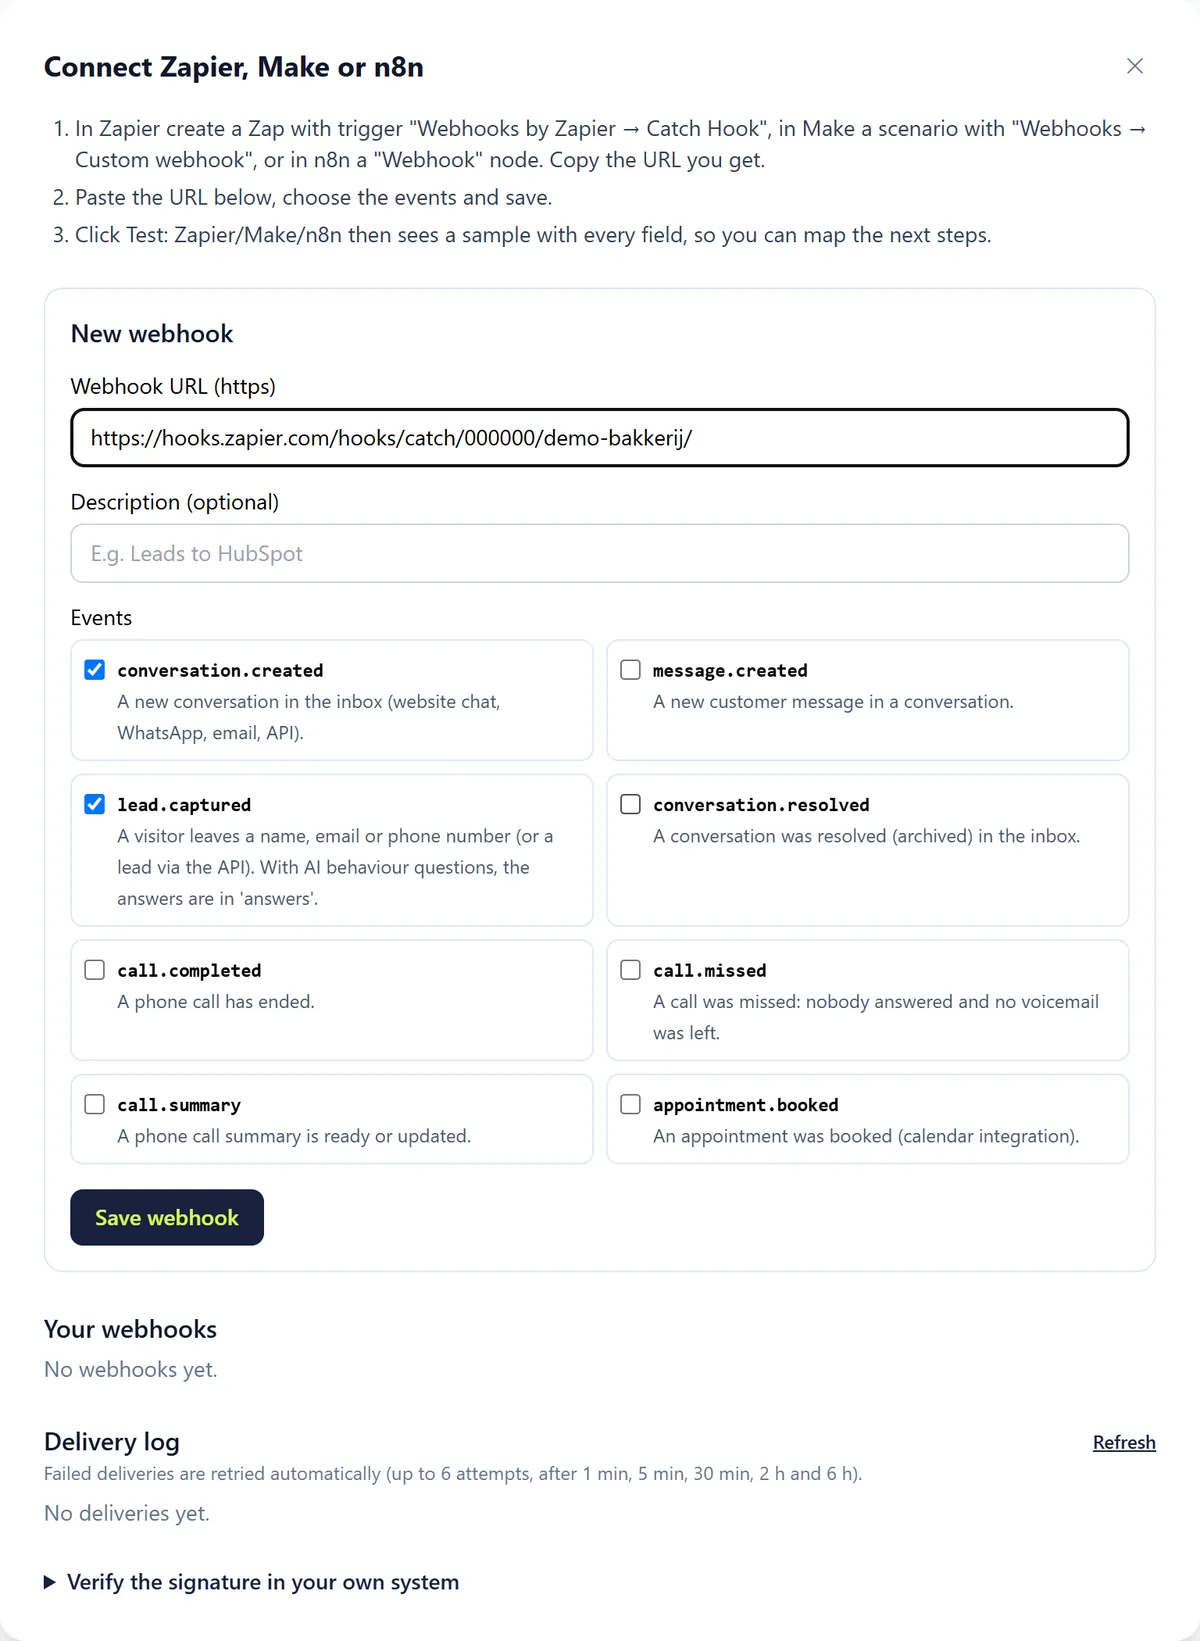
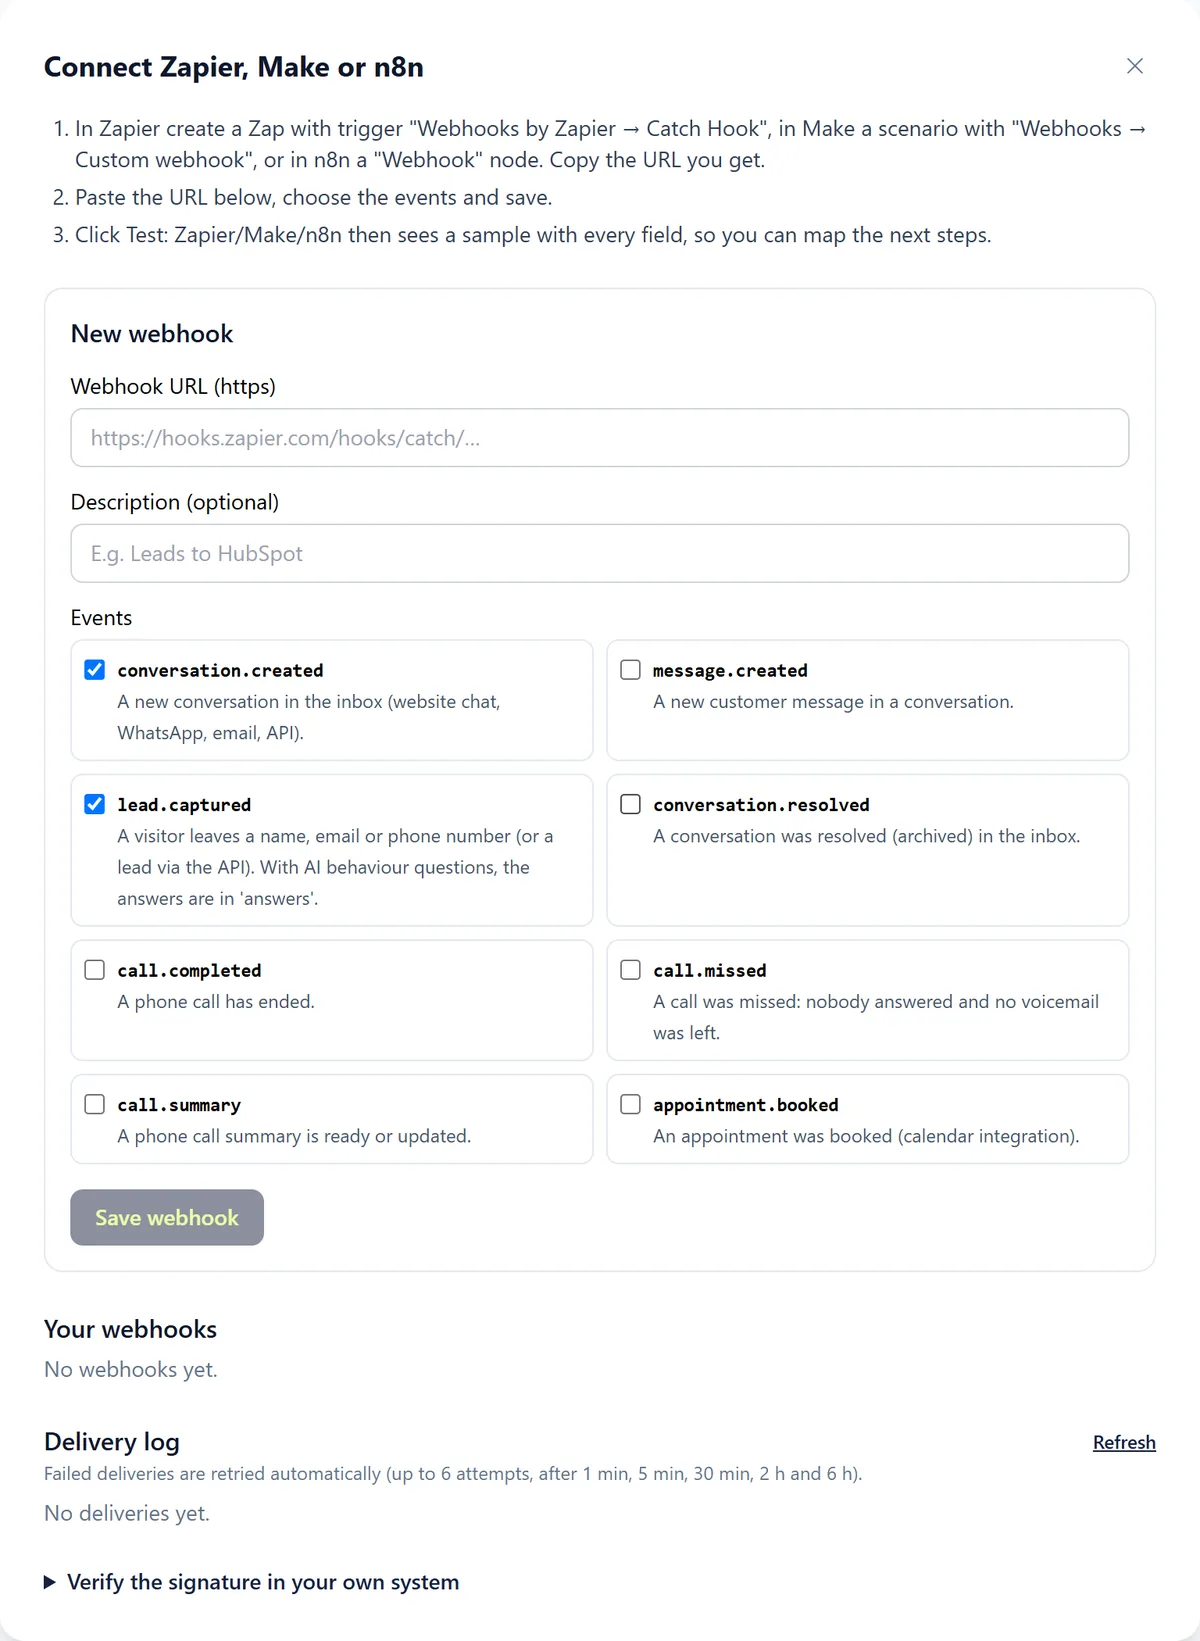
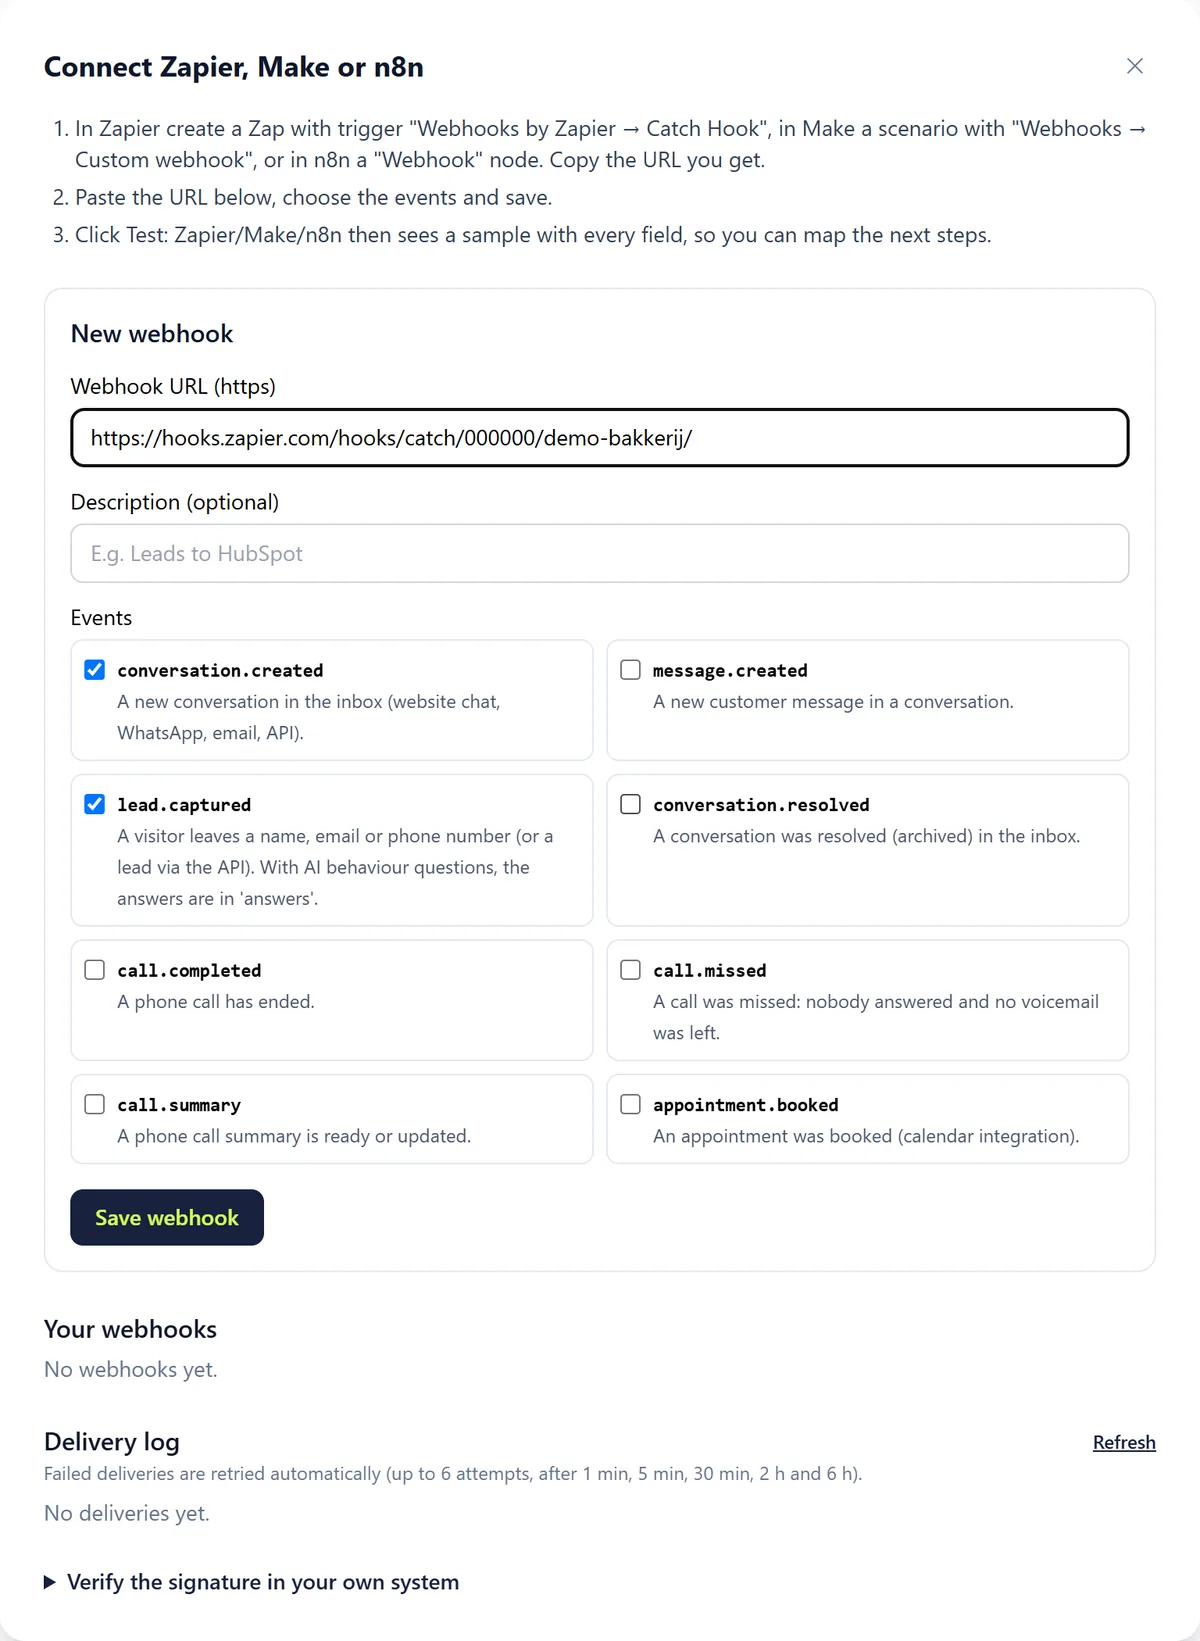
Paste the URL into "Webhook URL (https)", optionally add a description and tick the events you want to receive. Click "Save webhook".
Step 3: test and build on
Step 1: Send a test
Click "Test" on your webhook or on the card. Zapier, Make or n8n then sees a sample message with all fields.
Step 2: Build the next steps
In Zapier, Make or n8n, map the fields to your next step and switch the automation on.
Rules and settings
- Failed deliveries are retried automatically: up to 6 attempts, after 1 minute, 5 minutes, 30 minutes, 2 hours and 6 hours.
- The "Delivery log" shows for each message whether it arrived.
- The wizard explains how to verify the HMAC signature in your own system.
- Webhooks send customer data; they only work with a signed DPA.
Testing
- Use "Test" and then check the "Delivery log" for a 2xx response.
Common problems
- The test does not get a 2xx: is your Zap or scenario switched on, and is the URL correct? Zapier and Make only show a test while the trigger is listening.
- Duplicate messages: a retry can deliver a message twice. Use the id in the message to avoid doing the work twice.
- The old "Webhooks" page in the menu still works, but the new webhooks under Integrations have more events, retries and a delivery log.
Good to know
- Want to do something in Twilper from Zapier or Make instead, such as creating a contact? Use an API key.