What it does
- Before the conversation: mail to your chosen addresses (for example info@ and support@) becomes a conversation in the inbox.
- During the conversation: you reply from Twilper; Resend sends it from your own address.
- After the conversation: with the delivery events you see whether your reply was delivered.
- Automatic mail (out-of-office replies, bounces, newsletters, no-reply and platform notifications) is skipped by default.
What you need
- A Resend account with your domain, whose MX record points to Resend (inbound-smtp.eu-west-1.amazonaws.com).
- The sender domain must be verified for sending in the same Resend account.
- An API key with "Full access". "Sending access" is not enough, because Twilper must be able to read received mail.
Set up
Step 1: Open the wizard
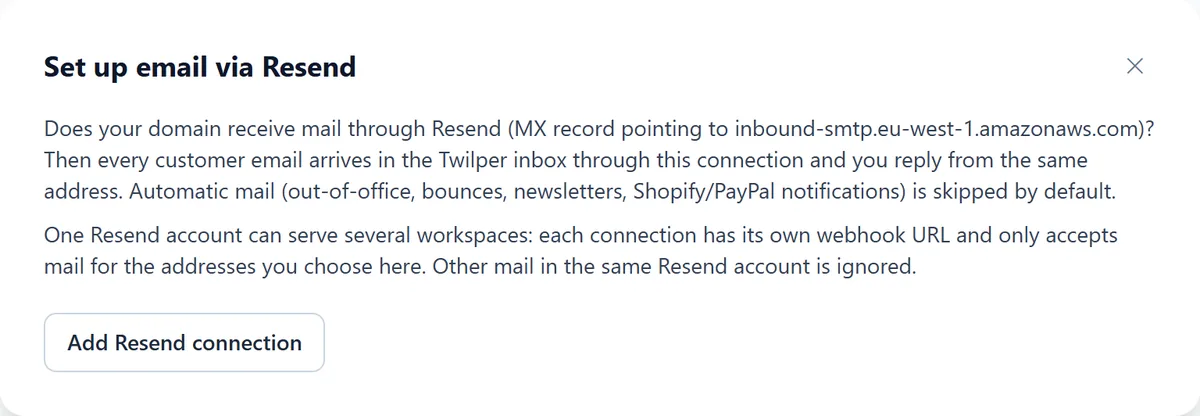
Go to "Integrations", click "Set up" on "Email via Resend" and then the button to add a Resend connection.
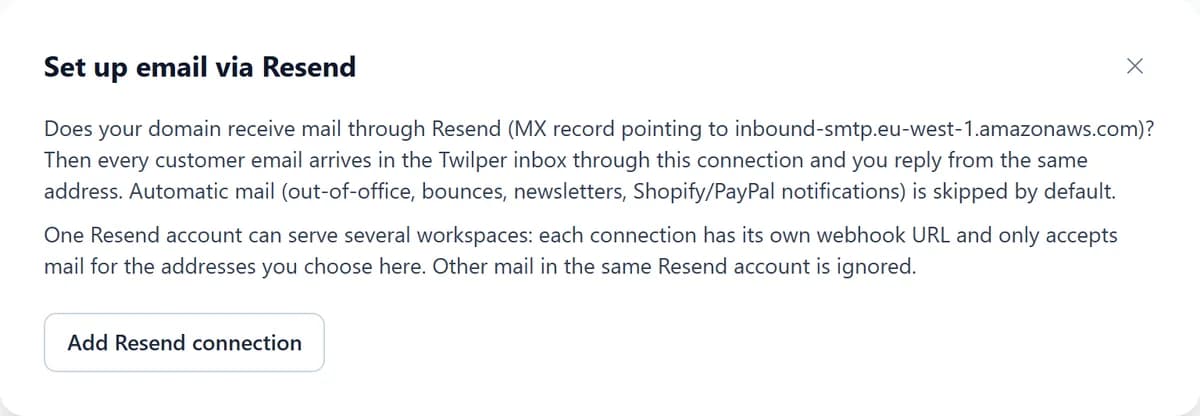
Step 2: 1. Resend API key
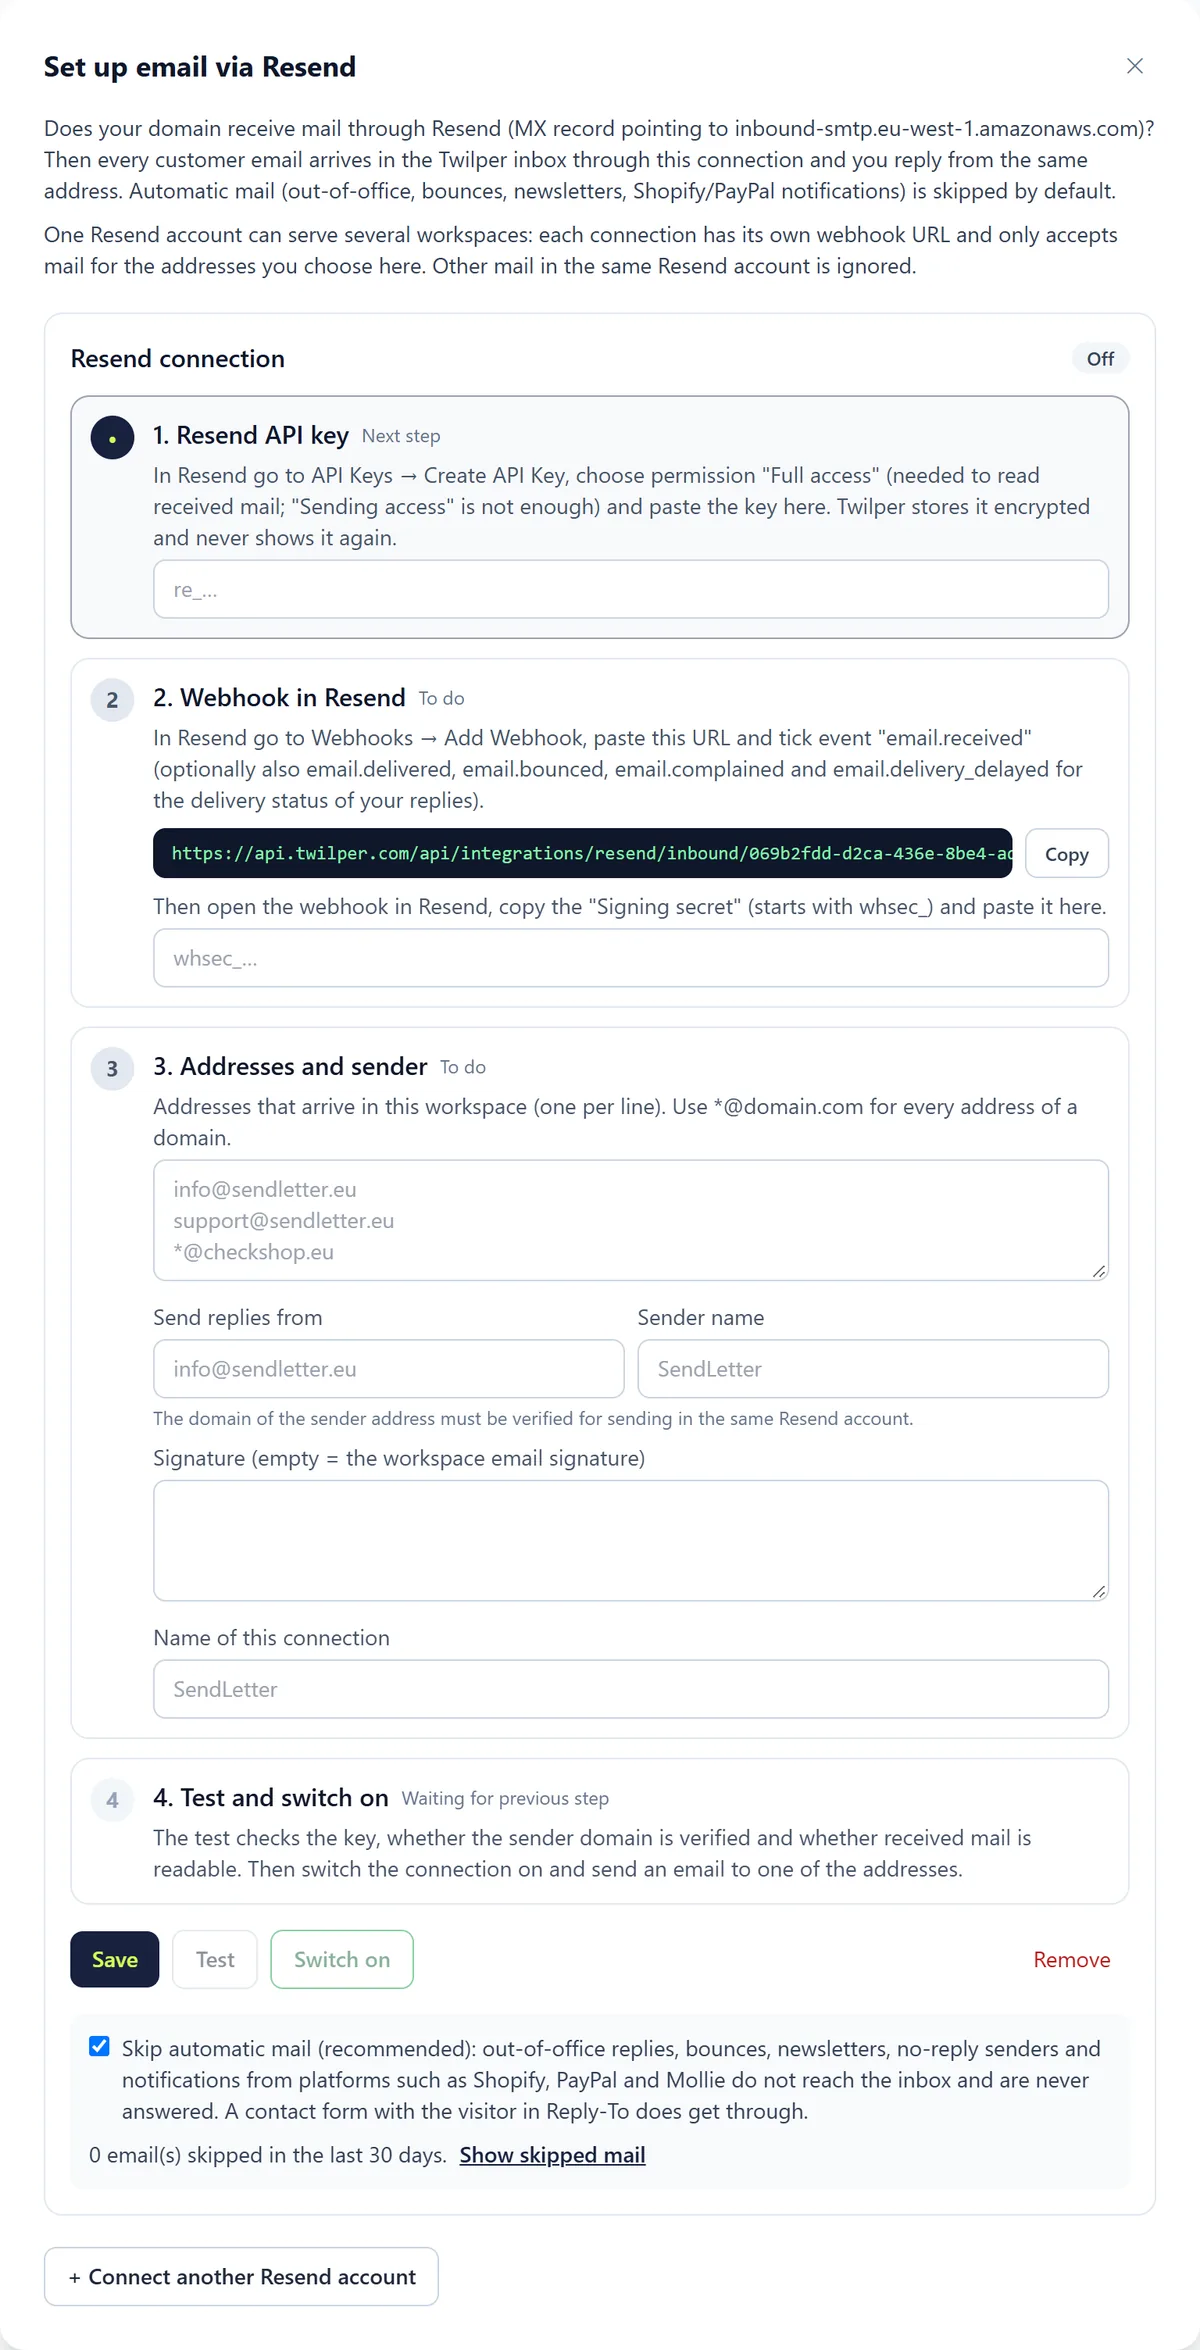
In Resend, create a key under API Keys > Create API Key with "Full access" and paste it. The key starts with re_, is stored encrypted and never shown again.
Step 3: 2. Webhook in Resend
Copy the "Webhook URL" from Twilper. In Resend, under Webhooks > Add Webhook, create a webhook with that URL and tick email.received (and optionally email.delivered, email.bounced, email.complained and email.delivery_delayed). Open the webhook in Resend, copy the Signing secret (starts with whsec_) and paste it into Twilper.
Step 4: 3. Addresses and sender
List the addresses that should reach the inbox, one per line; *@yourdomain.com catches the whole domain. Choose the address under "Send replies from", fill in the "Sender name" and optionally a signature.
Step 5: 4. Test and switch on
Click "Save" and then "Test". When everything is green, click "Switch on".
Rules and settings
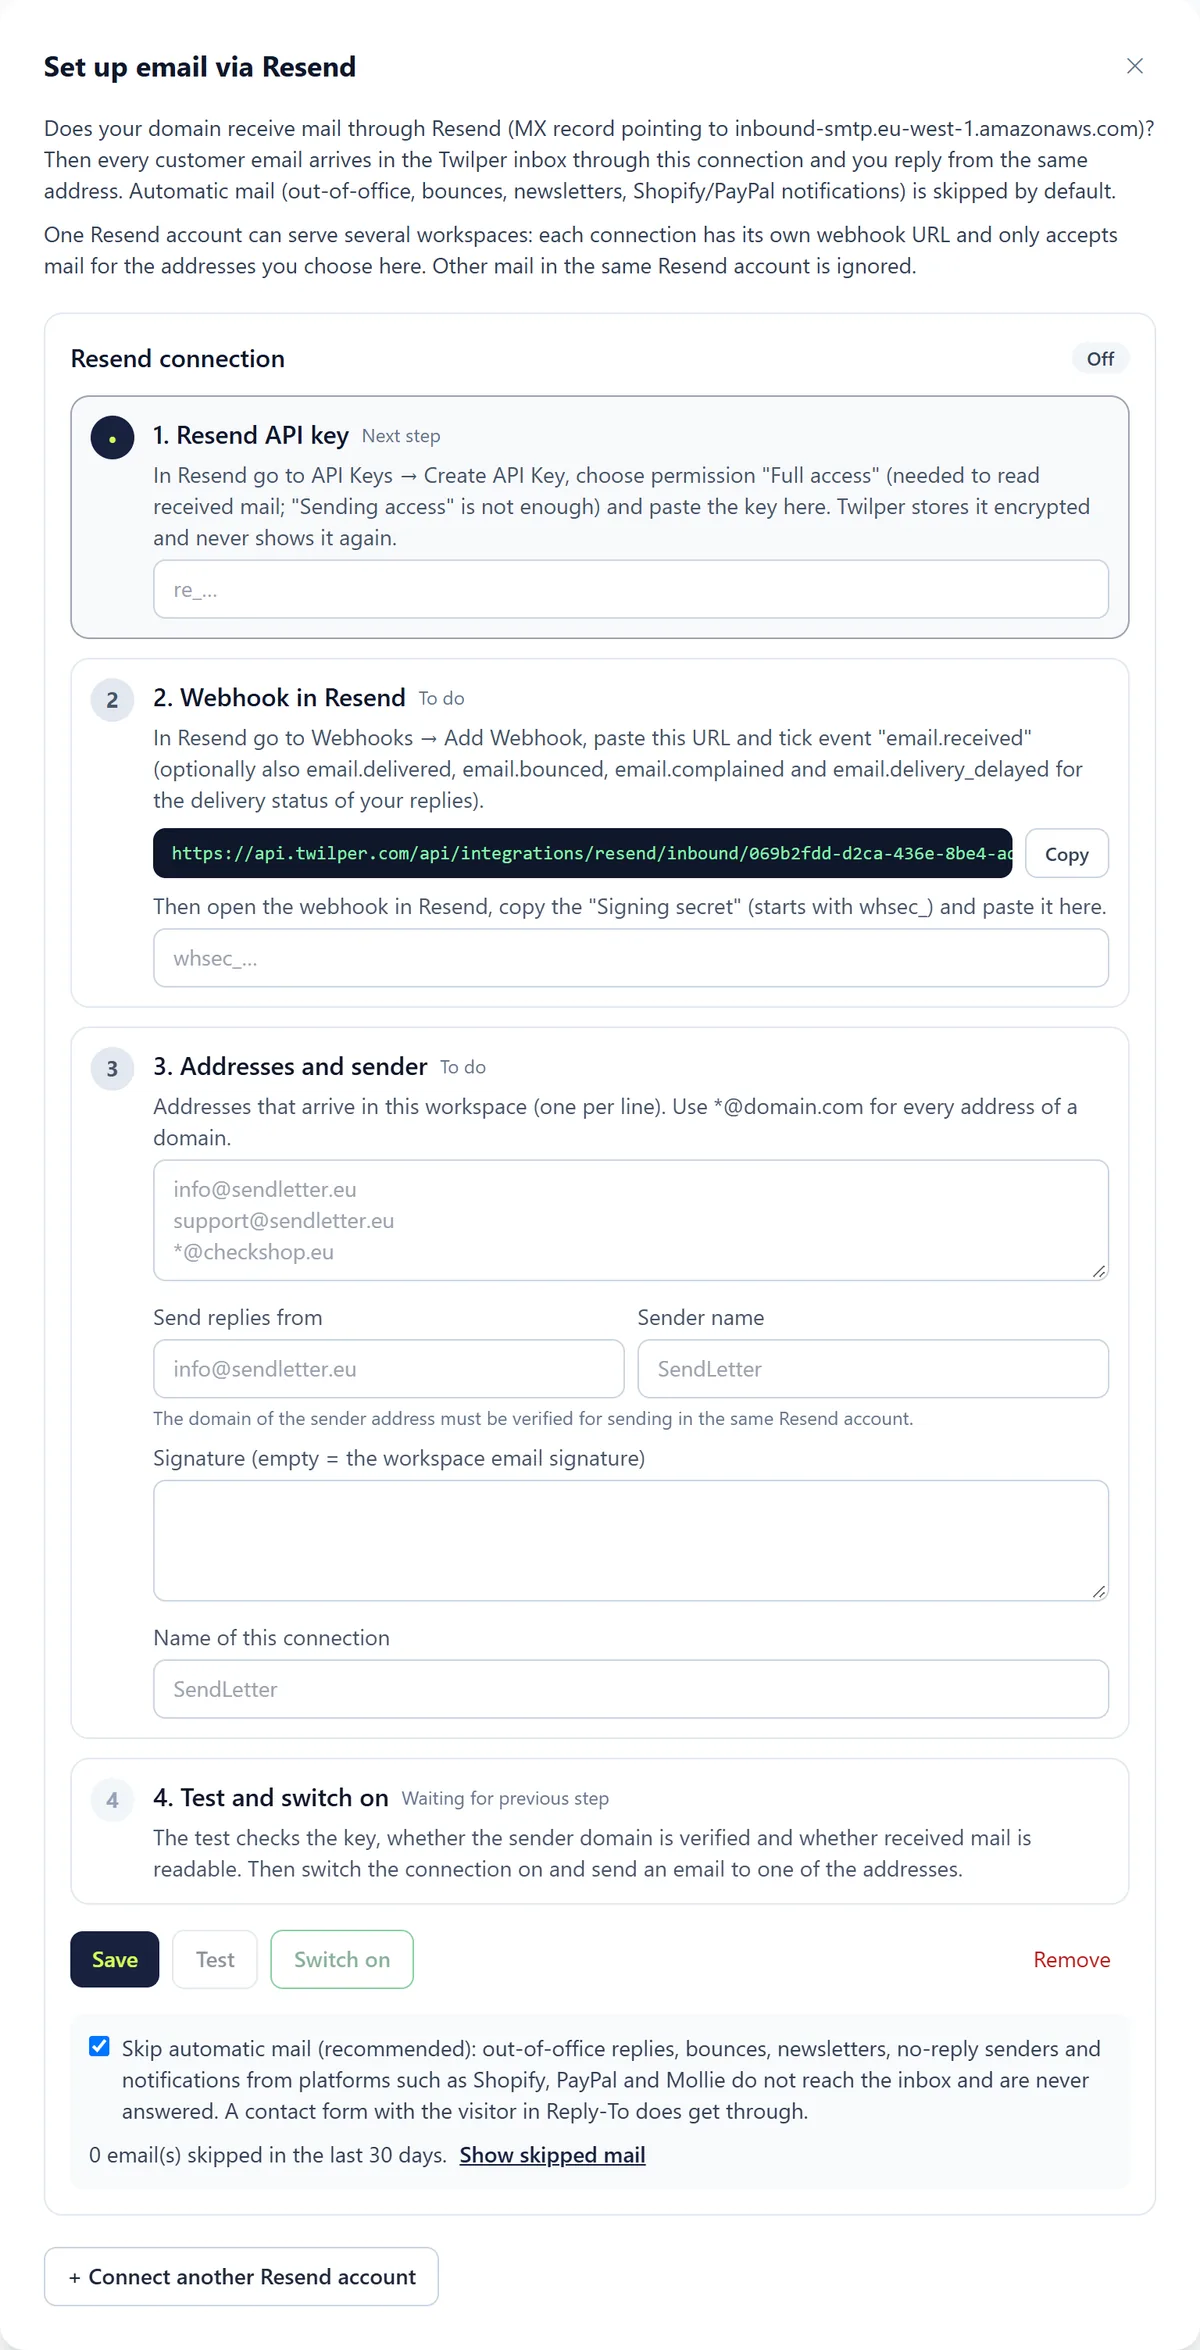
- "Skip automatic mail (recommended)" keeps out-of-office replies, bounces, newsletters and no-reply mail out of the inbox. A contact form that puts the visitor in Reply-To still gets through.
- "Show skipped mail" lists what was skipped and why.
- One Resend account can serve several workspaces: each connection has its own webhook URL and only accepts mail for its own addresses. Use "+ Connect another Resend account" for a second account.
- "Remove" keeps existing conversations, but you can no longer reply to them.
Testing
- "Test" checks the API key, the verified sender domain, your routed domains, whether received mail is readable, the signing secret and the last webhook received.
- Then send an email to one of your addresses yourself; it appears in the inbox within seconds.
Common problems
- The test says the key can't read mail: create a key with "Full access".
- Sender domain not verified: finish DNS verification in Resend for that domain.
- No webhook received: check that email.received is ticked and that the URL is exactly right. Send a test email.
- A notice that Resend mail is not enabled yet: you can fill everything in already; switching on works once it is enabled for your workspace.
Good to know
- Already have a mailbox at Microsoft 365 or another provider? The regular mailbox connection is often simpler.