What it does
- Before the conversation: if your system offers lookup_caller, Twilper recognises the caller or visitor.
- During the conversation: the AI calls your system's tools (for example product search, order status, options and prices). In the website chat the visitor sees a short "looking it up" message.
- The AI only gives order details after an order number plus email address or postcode.
What you need
- An https endpoint in your own system, built as described at twilper.com/integrations/api.
- A signing key of at least 32 characters (or let Twilper create one).
Set up
Step 1: Open the bot link
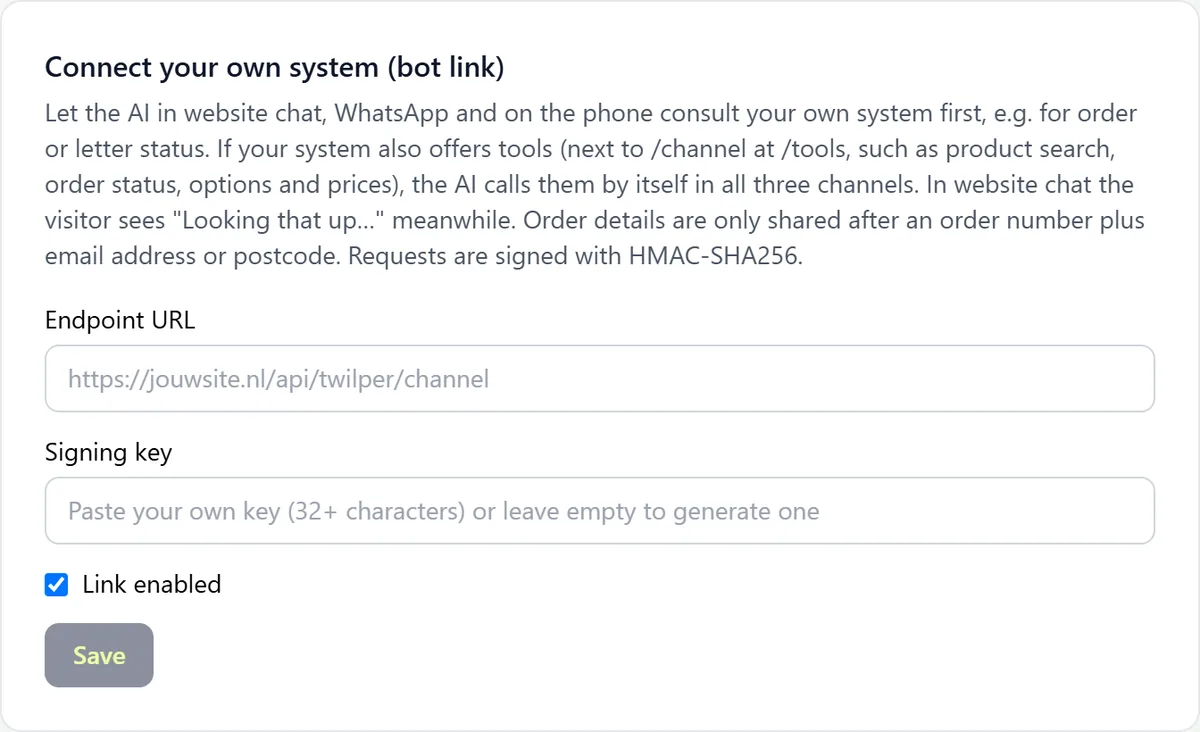
Go to "Integrations" and scroll to "Connect your own system (bot link)".
Step 2: Enter the endpoint
Enter your system's address in the endpoint URL field, for example https://yoursite.com/api/twilper/channel.
Step 3: Key and activate
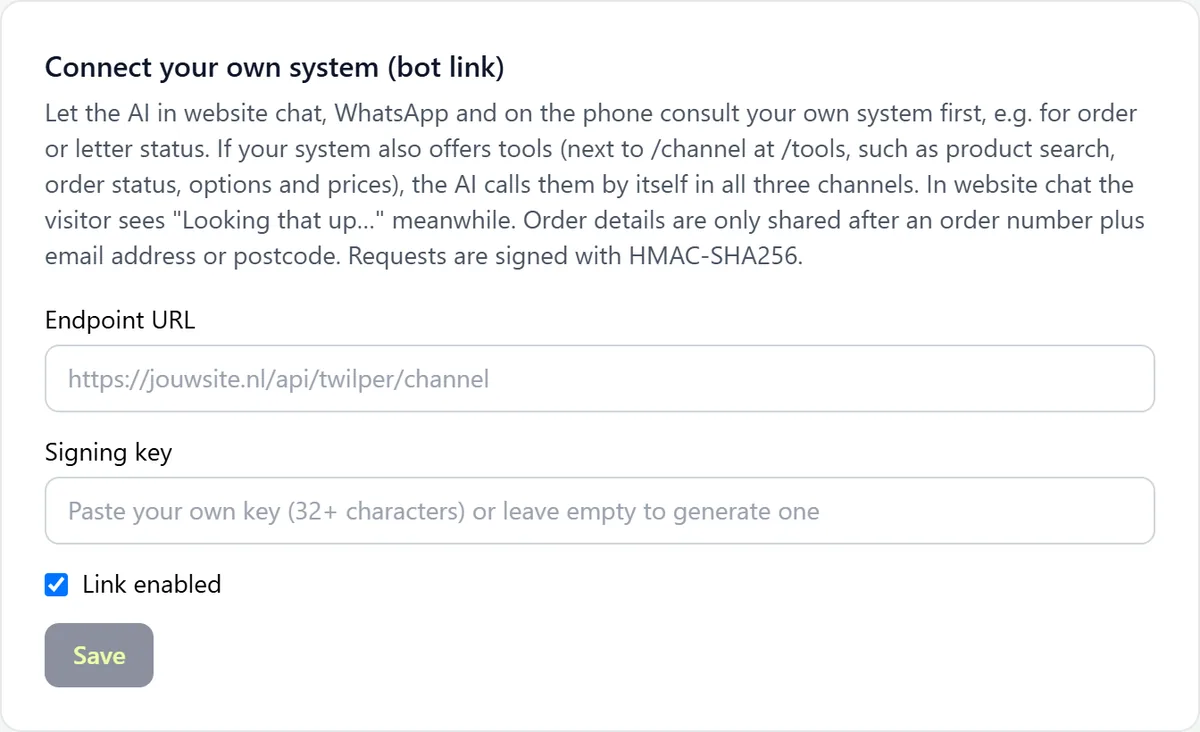
Paste your own key in the signing key field or leave it empty to have one created. Tick the active checkbox and click "Save".
Rules and settings
- Every request is signed with HMAC-SHA256. Your system must check the signature and refuse requests without a valid one.
- Every request carries a context with channel, caller or visitor and whether the identity is verified. Only return data that belongs to that person.
- The AI uses the same tools in website chat, WhatsApp and phone.
Testing
- Use "Test the link" on the card: choose a channel (website chat, WhatsApp or phone), type a message such as "Where is my order?" and click "Send test". You see the reply and which tools the AI may call.
- Then ask the same question in the real website chat and check your system's logs.
Common problems
- The AI answers by itself instead of your system: your endpoint did not respond within 6 seconds (tools: 4 seconds) or returned an error. Twilper then falls back to the built-in AI.
- Signature mismatch: make sure you use the raw body and the same key as in Twilper.
Good to know
- Using WooCommerce? You don't need the bot link: use the WooCommerce card.